My friend and I recently started looking into making model rockets. Making the rockets is fun and all but one aspect that was lacking was the launch controller. This is the part that provides power to the igniter to actually ignite the thruster.
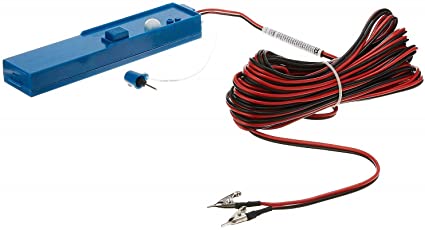
Above is the usual launch controller that can be found in model rocket kits. The E controller above has more length of wire than the others but that about the only difference. These controllers take 4 AA batteries for power and are very simple. There is a button to launch and a key that is needed to complete the circuit. This is obviously for safety as you don’t want to accidentally launch a rocket when it is not safe to do so. If I’m going to make my own I need to make some considerations for safety to make sure it is at least up to par with the standard controllers.
These controllers are very simple. The battery power goes through the key, to the crocodile clips, which would be connected to the igniter and back to the controller. There is a bulb that shows when there is continuity through the crocodile clips holding the igniter just to show that it is connected properly, if it does not light up then you’d need to check the connections. It’s only when the button is pressed that there is a large enough current to start the igniter. This is because the path going through the launch button has less resistance than through the bulb.
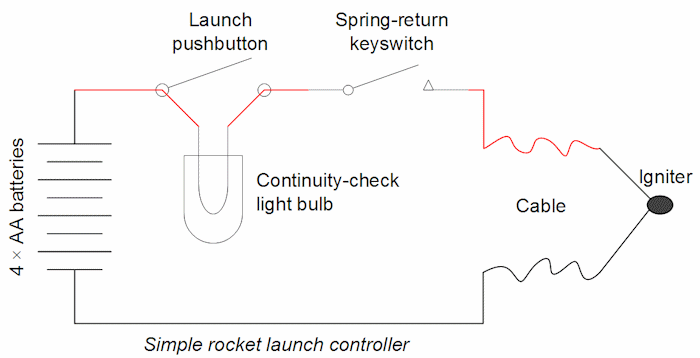
Above is a simple schematic showing how one of these controllers would look on the inside. I will use this as a baseline for my design.
I started looking at components that I wanted to include. I knew that I wanted to include a switch with a missile cover at the very least, I don’t think you can make one of these without one! For the sake of safety, I wanted to include something similar to the key in the Estes controller. The only problem is, it’s not the easiest thing to mimic myself, the fact that it is not a switch and that it will only launch if the key is inserted is. Therefore, I am using both a key switch and the switch with the missile cover. To make up for not having the same key mechanism, I decided that I would use two buttons to launch, one would be on the front and one would be on the side to prevent the rocket being launched in the event the controller is dropped while being armed. This is not certain to prevent this but will lower the chances of a misfire if it was dropped.
I originally intended to use two 4 AA battery holders, that would make it overkill and hopefully be able to ignite any igniter we choose. The case for the controller would need to be at least big enough to accommodate the batteries, making it rather large. I later found a video here, where they implement 2 sets of sockets for wires and a switch. One set of sockets would go out to the igniter at the rocket, the other could be used as a power input. This means that it would not need as much built-in battery power as a more powerful external power source could be used. Following this design change, I also changed the batteries and opted for two 9V batteries in parallel for the option of only using one, or using two if more current was needed.
After deciding on all the parts, I drew a circuit diagram to show how I would connect all these components.
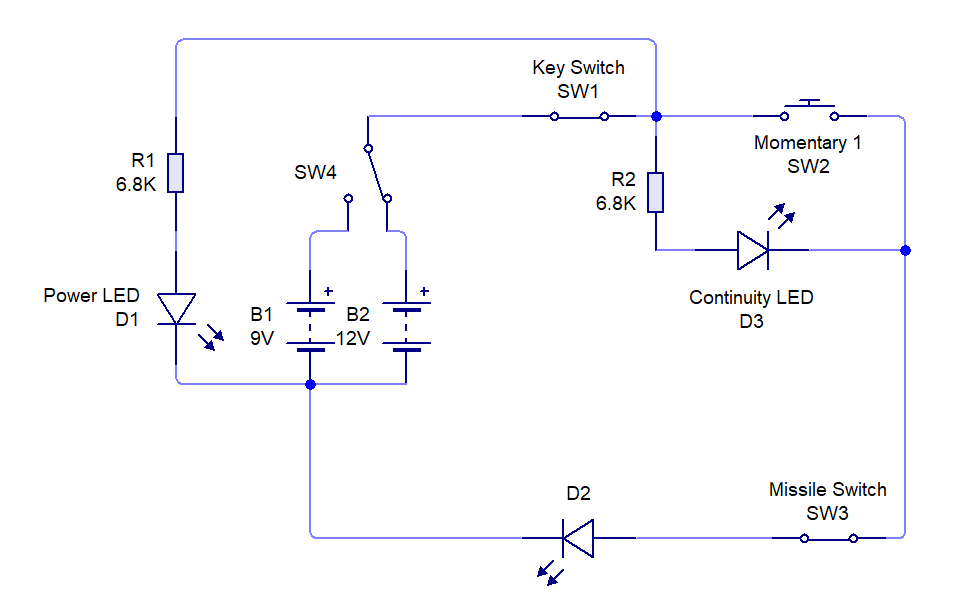
I can’t actually remember the resistor values I used but I think it was either 6.2K or 6.8K, this was to minimise the current going through the igniter before it is launched.
The different power sources are represented as different cell before SW4. When the first key switch is in the on position, an LED will light up signifying power is running to at least that part. The igniter would be connected to the controller and then the missile switch can be moved to the on position. If the controller is making good connection to the igniter and back, a second LED will light up, if the connection is bad, this LED will not light up. At this point the rocket is ready to be launched and the only thing that is left to be done is pressing the two momentary buttons to launch the rocket.
The next process to be done was designing the case after receiving all the components to make it. I used measurements from the all the components I had to make the model but used downloaded models from online to visualise what it would look like.
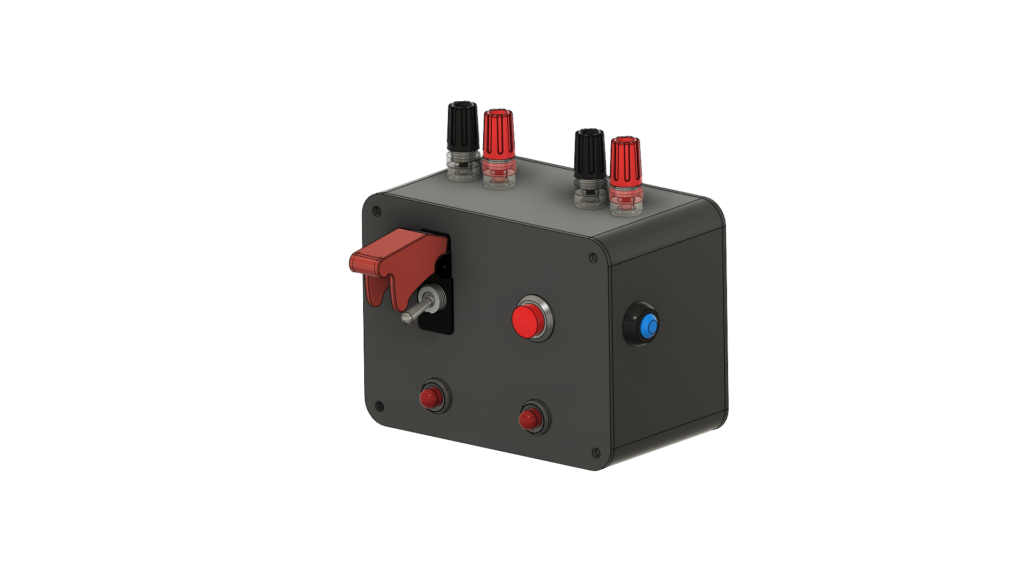
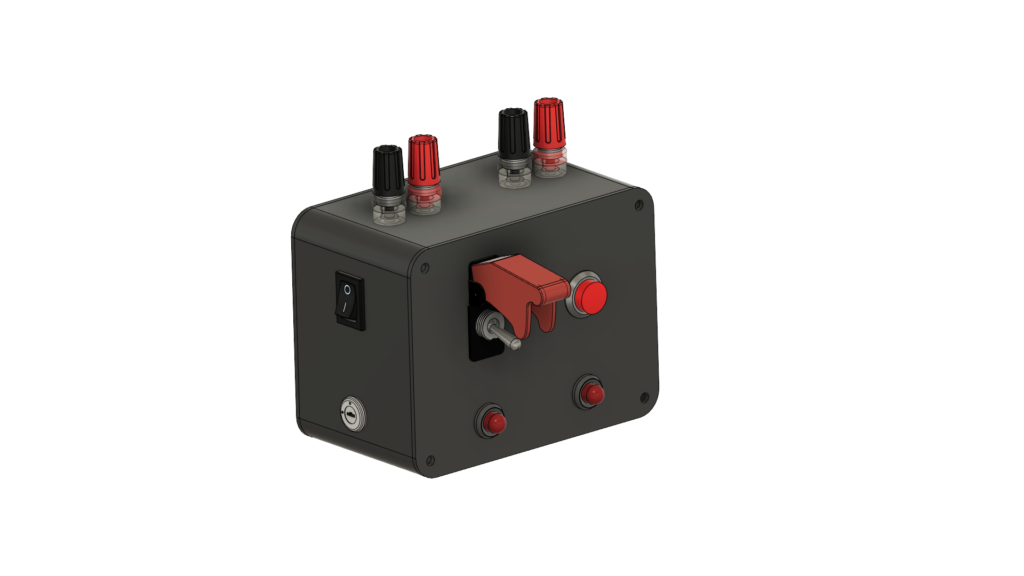
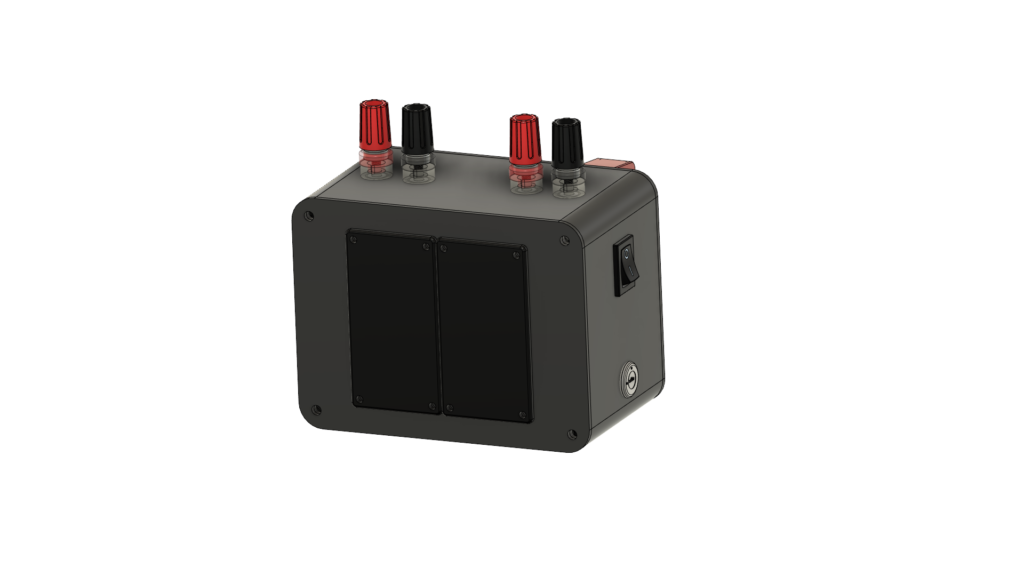
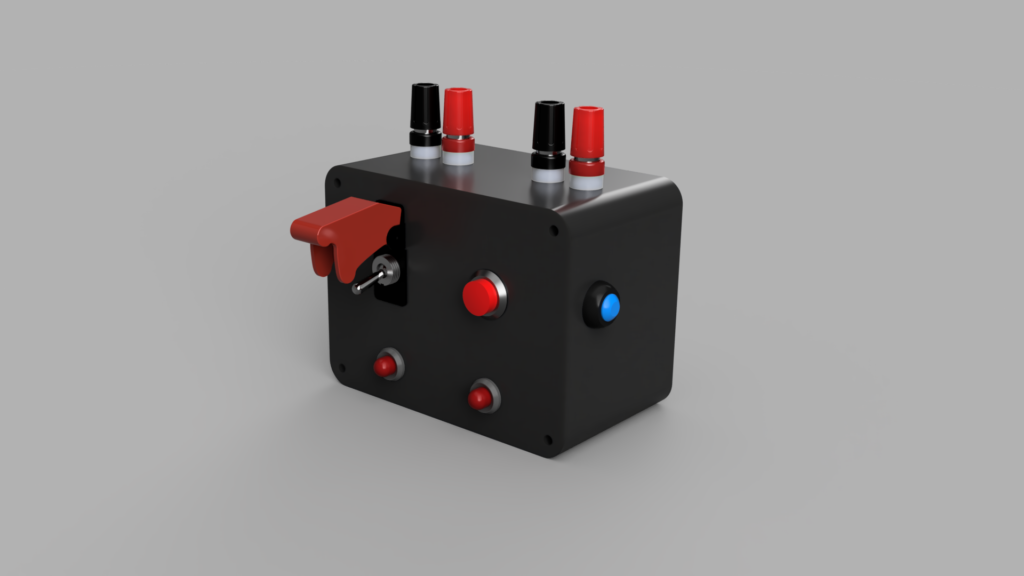
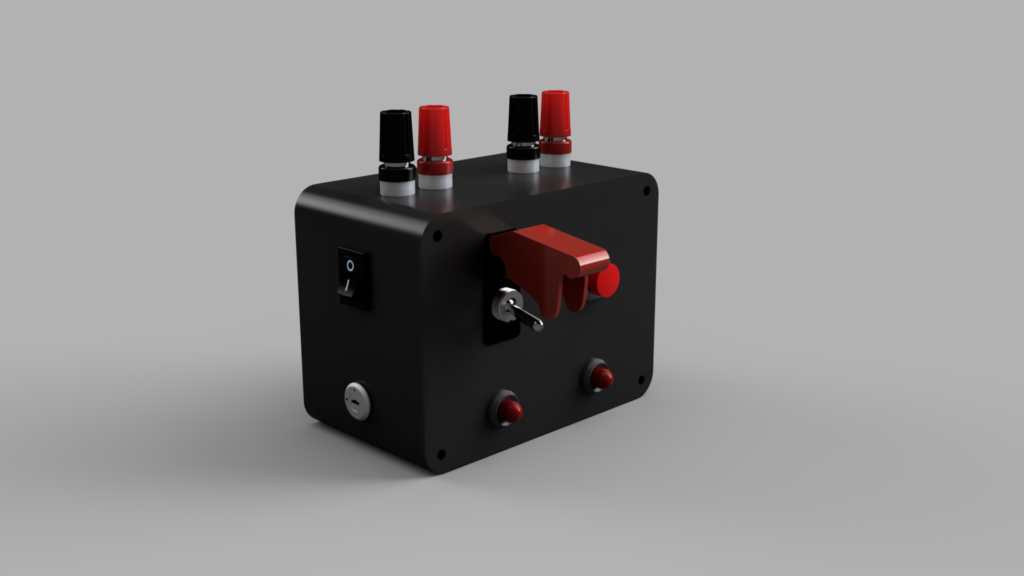
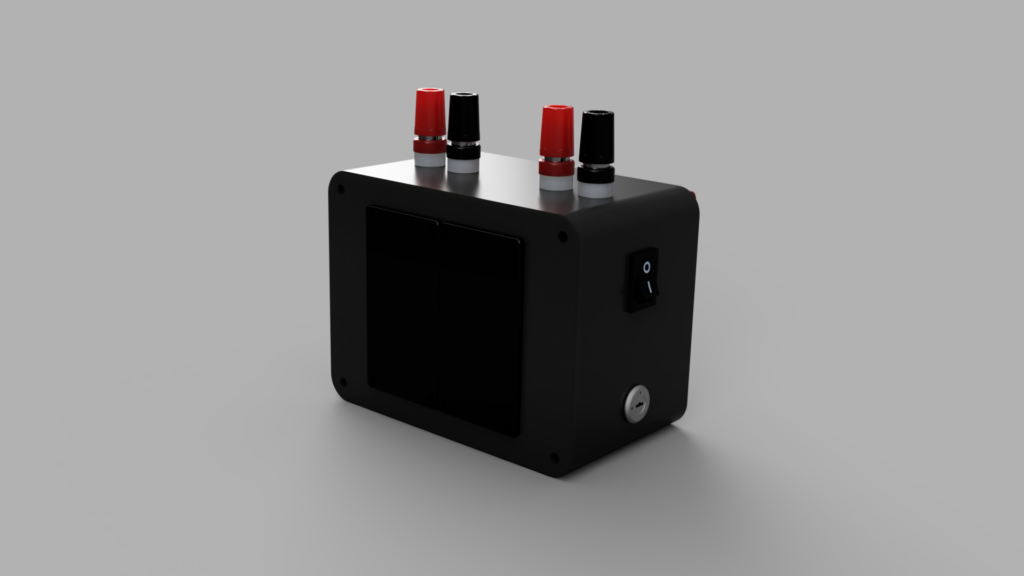
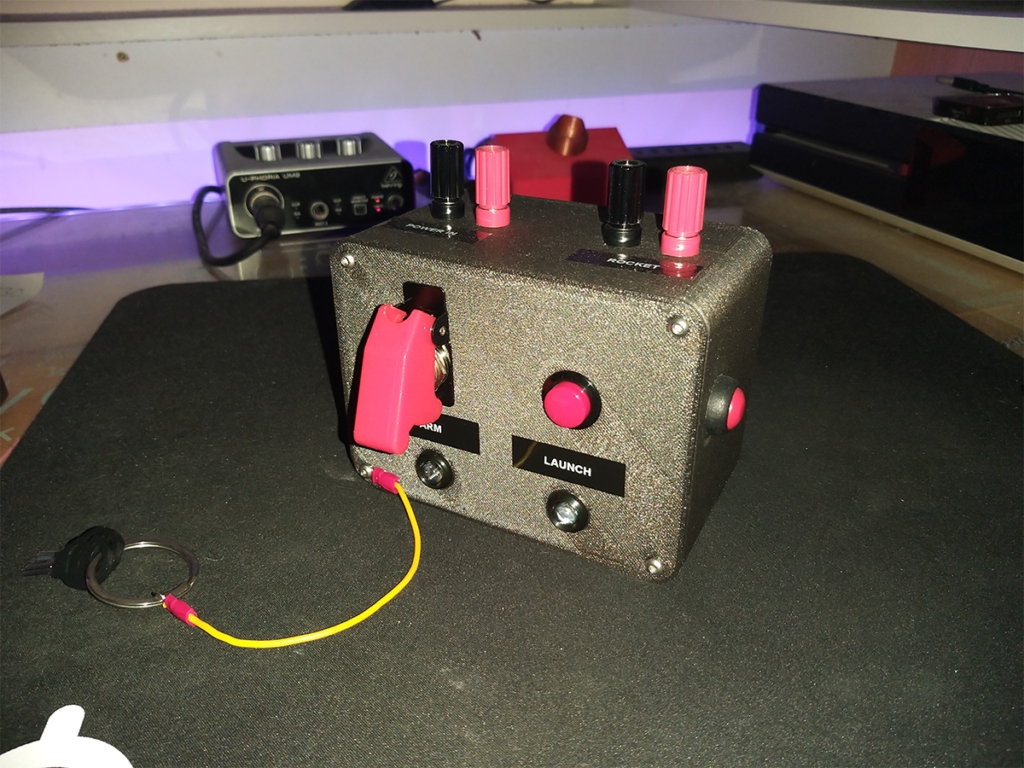
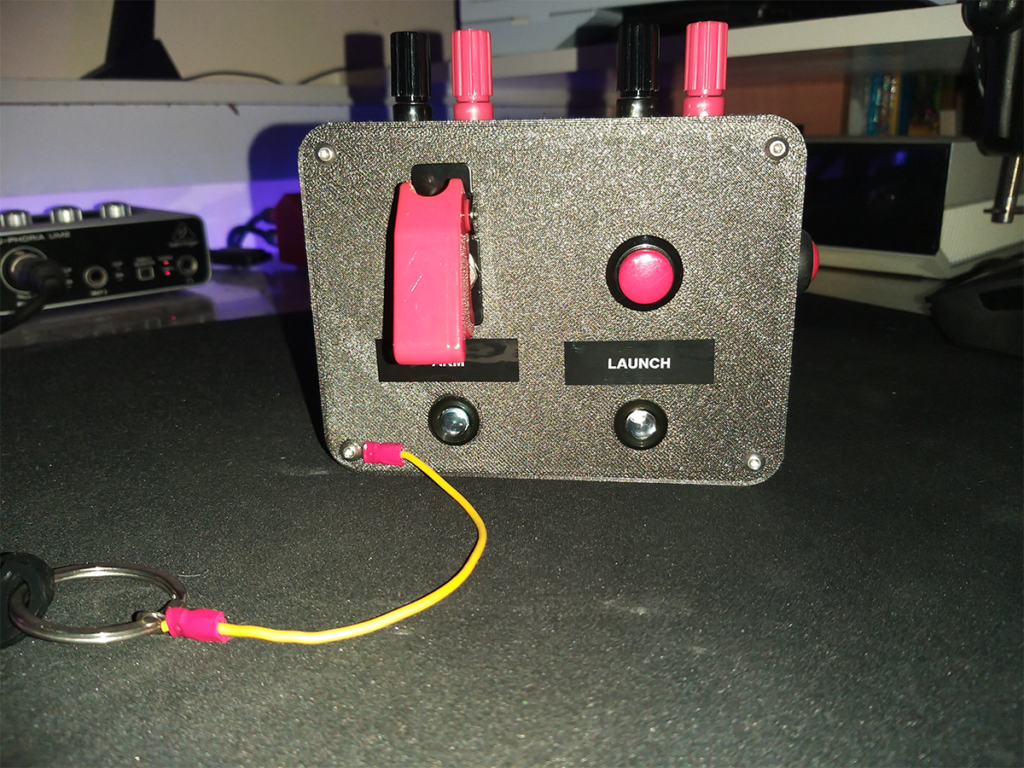
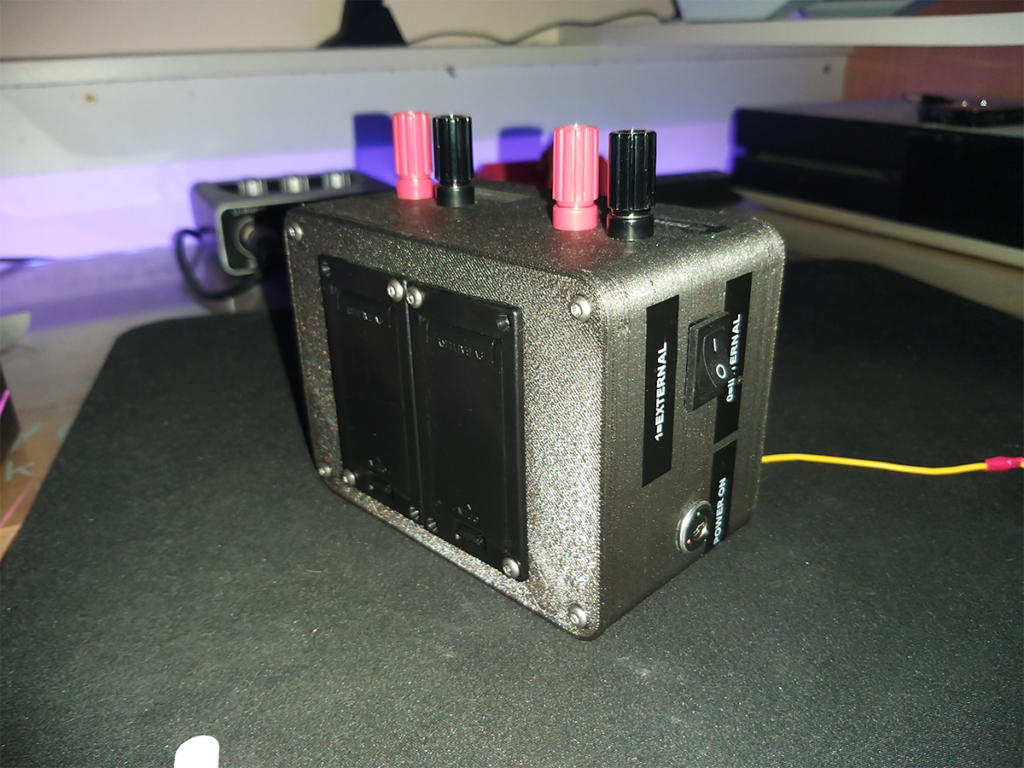
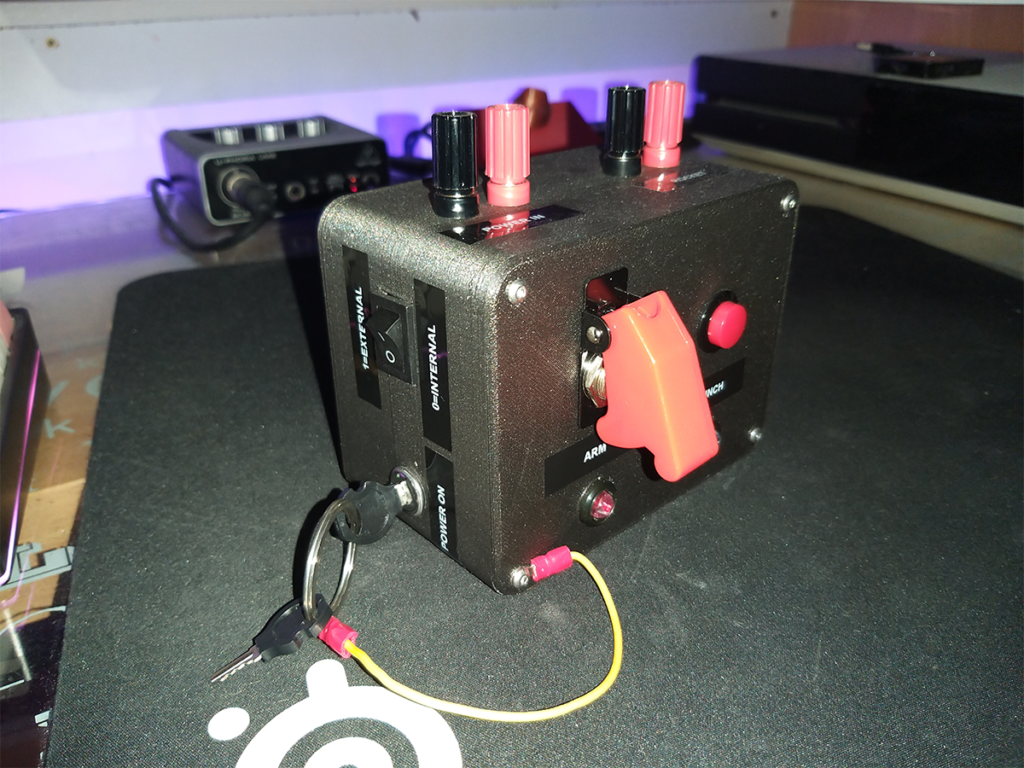
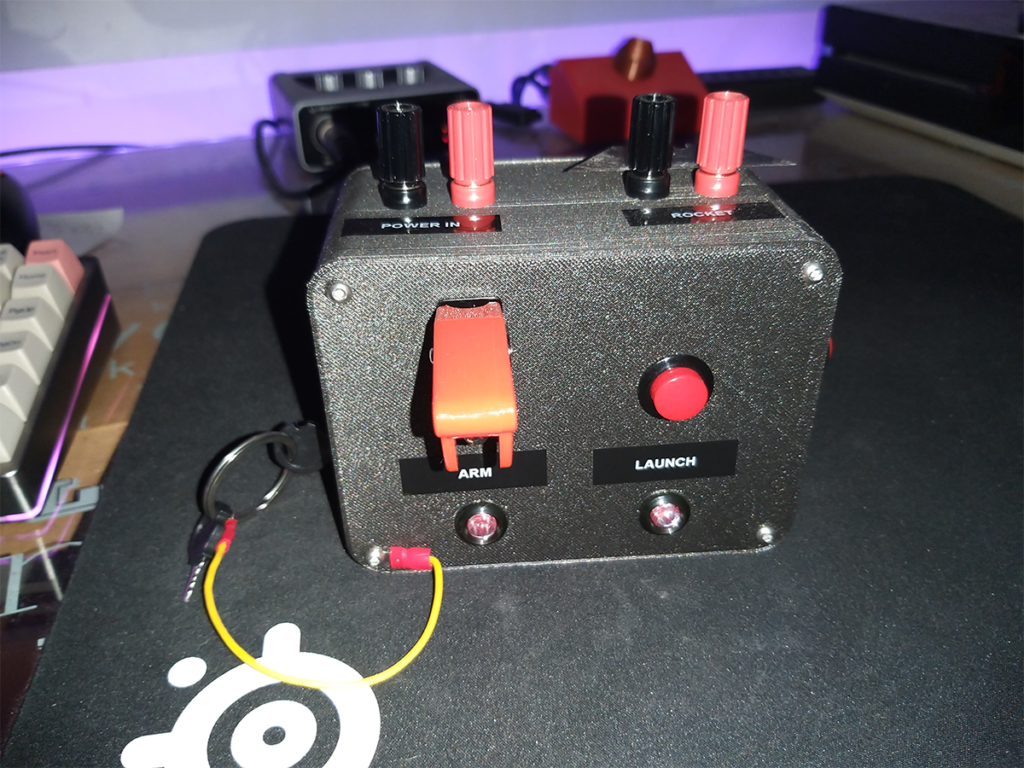
At the time of writing this, I have used this for two sessions of launching rockets and so far have had no issues with it. It’s definitely a more enjoyable experience than the basic controllers.