Conception
I have an interest in cars and racing so a few years ago I acquired a steering wheel for playing racing games on my computer. Since first getting it I have since bought another steering wheel to use with it. The original wheel was a standard circular plastic wheel with buttons to complete any function needed – including paddle shifters. The second wheel I got was a deep-dish steering wheel with no buttons at all, attached with a 3D printed adapter. I used this mainly for drifting as it felt more comfortable.
In recent months, I have got more into circuit racing and GT3 racing. The original steering wasn’t cutting it anymore and I wanted a more accurate wheel to the cars I was racing in. My steering wheelbase was never meant to have its steering wheel changed therefore I cannot buy a new wheel off the shelf. Like many other problems, if they can be fixed by 3D printing, I will do so.
Initial ideas
I first decided I wanted a more F1 style steering wheel. So I looked around the internet at some other people’s designs and based mine around them. I drew a rough shape on paper of what I thought would be good and then moved to Fusion 360 to sketch it.

Start of the GT3 Wheel
I printed the sketch to scale and cut it out to see how it could feel when fully made and decided I didn’t like it so much. After watching some other videos of people making their own wheels, I decided I would make a GT3 style wheel instead of an F1 style wheel.
I looked around and liked the look of the steering wheel from the Lamborghini Huracan GT3 car.
I based my wheel on the pictures below.
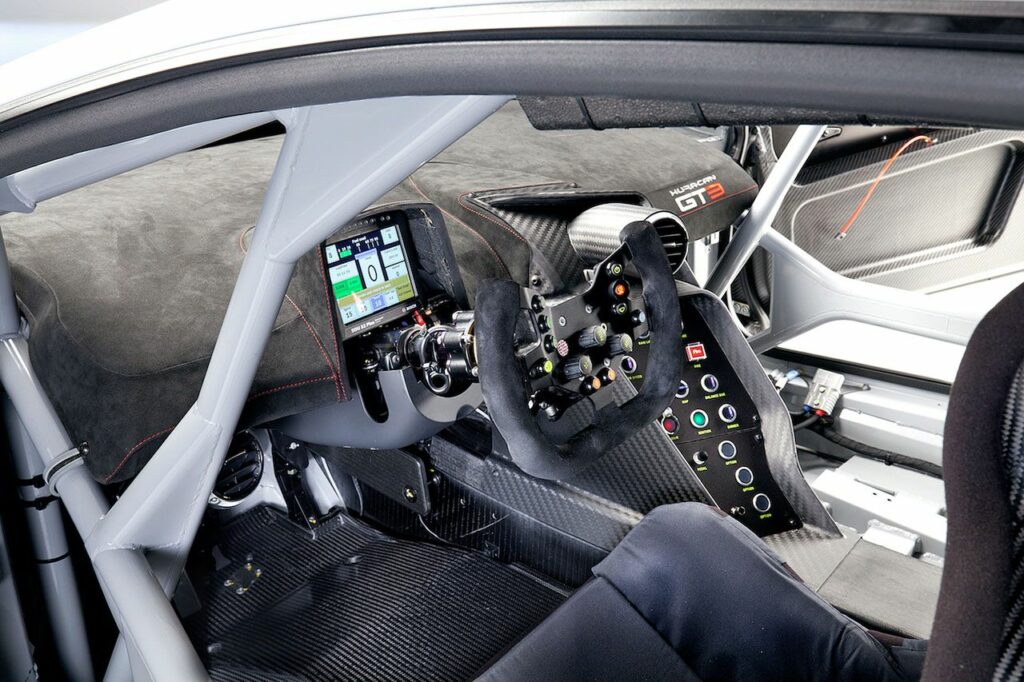

I then brought an image of the steering wheel above into Fusion 360 and traced around it, making both an open-top version and closed top.
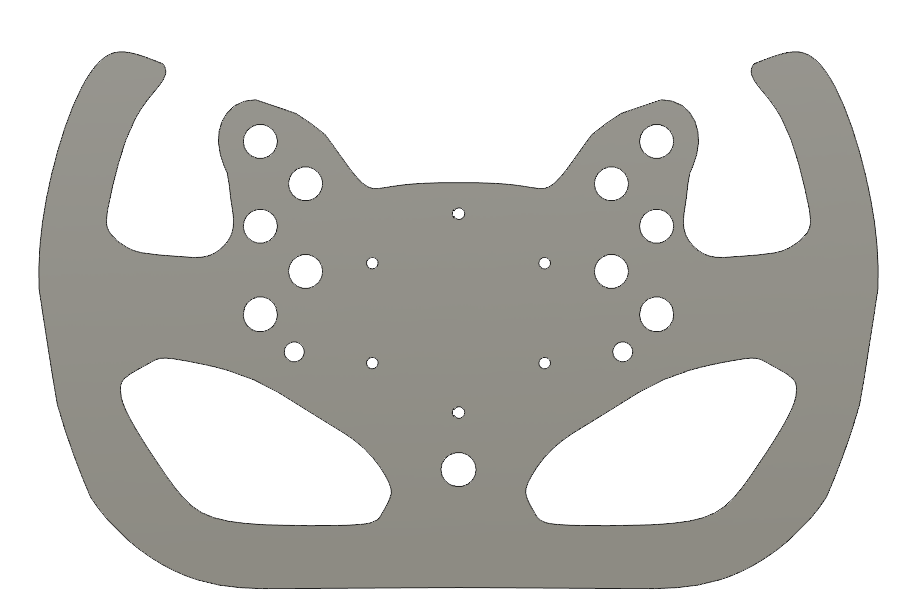
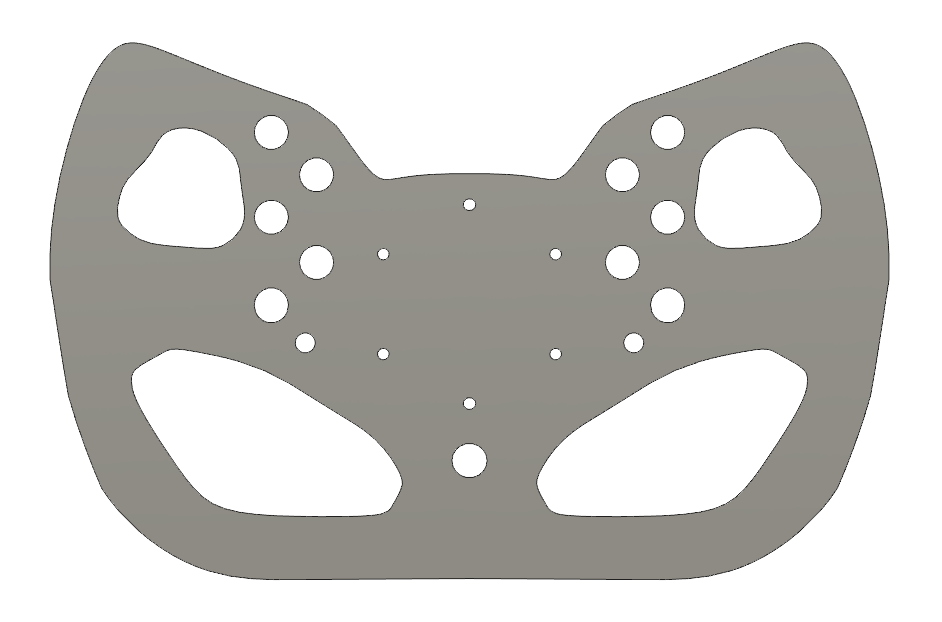
I originally planned to make the design fit onto an A4 sheet of paper so it could be printed, stuck to aluminium and cut out by hand. It didn’t take very long to notice that this wheel is too large to print onto a single piece of A4 paper. Therefore, I kept the design but made it narrower.
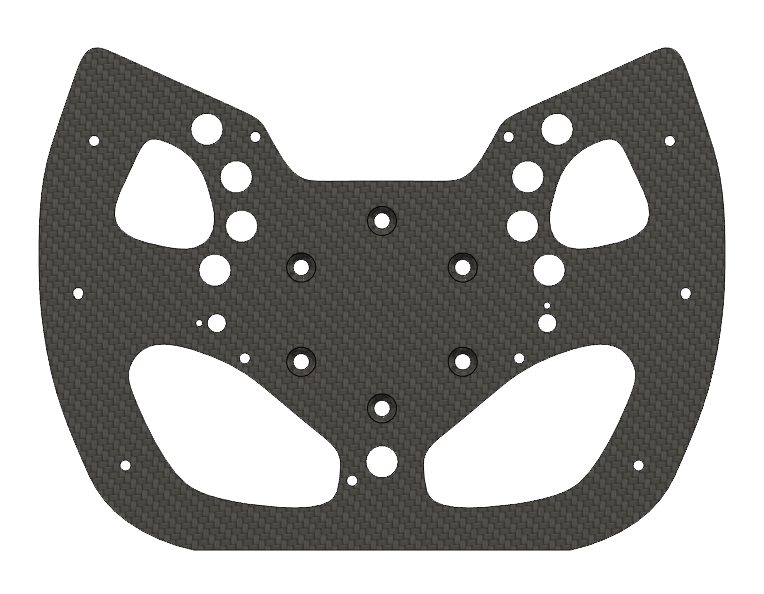
When designing the final wheel, I also decided that closing the top would provide some more structural integrity. It also allowed me to move the button further upwards so that they are all in accessible locations. The design did not start with as shown in the picture above, some of the holes were moved around after printing the shape out on paper. Some holes were not included at all until further into the design process.
Once I had the shape of the front plate mostly finalised, I began placing buttons onto the wheel. For this, I downloaded models of all the buttons and switches I would be using and imported them into the design so I could design the backbox that would house all the wiring.
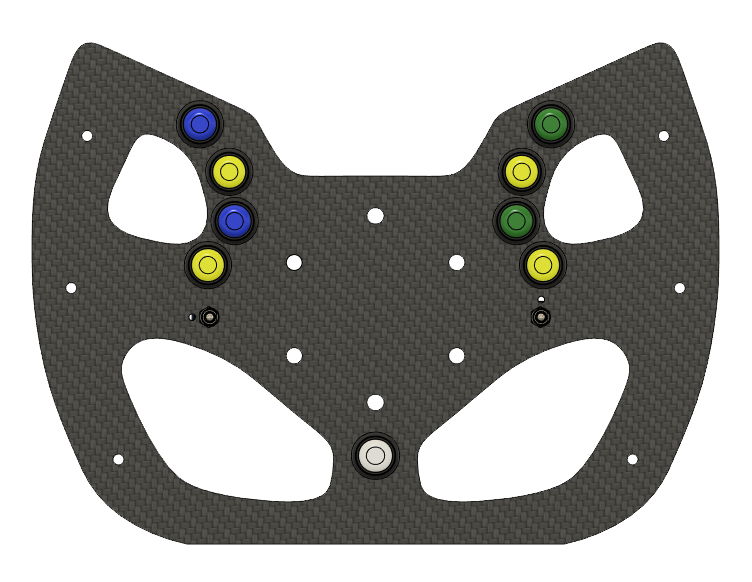
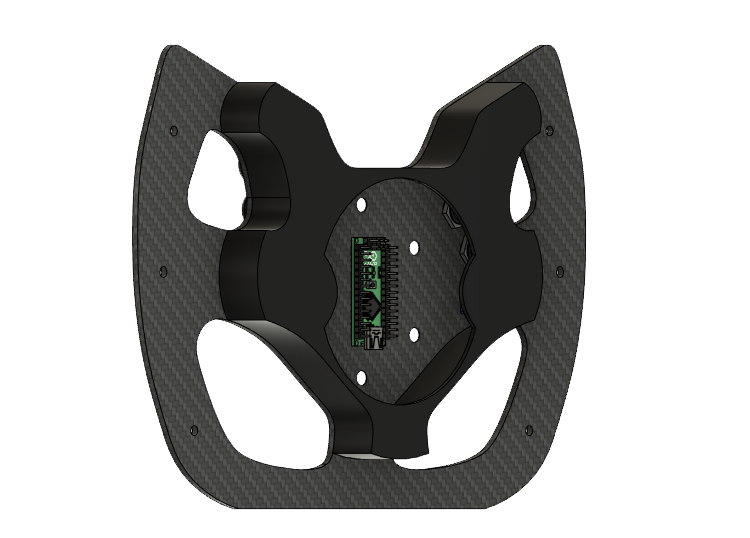
The backbox to house the wiring and Arduino Nano were designed and added, as can be seen above.
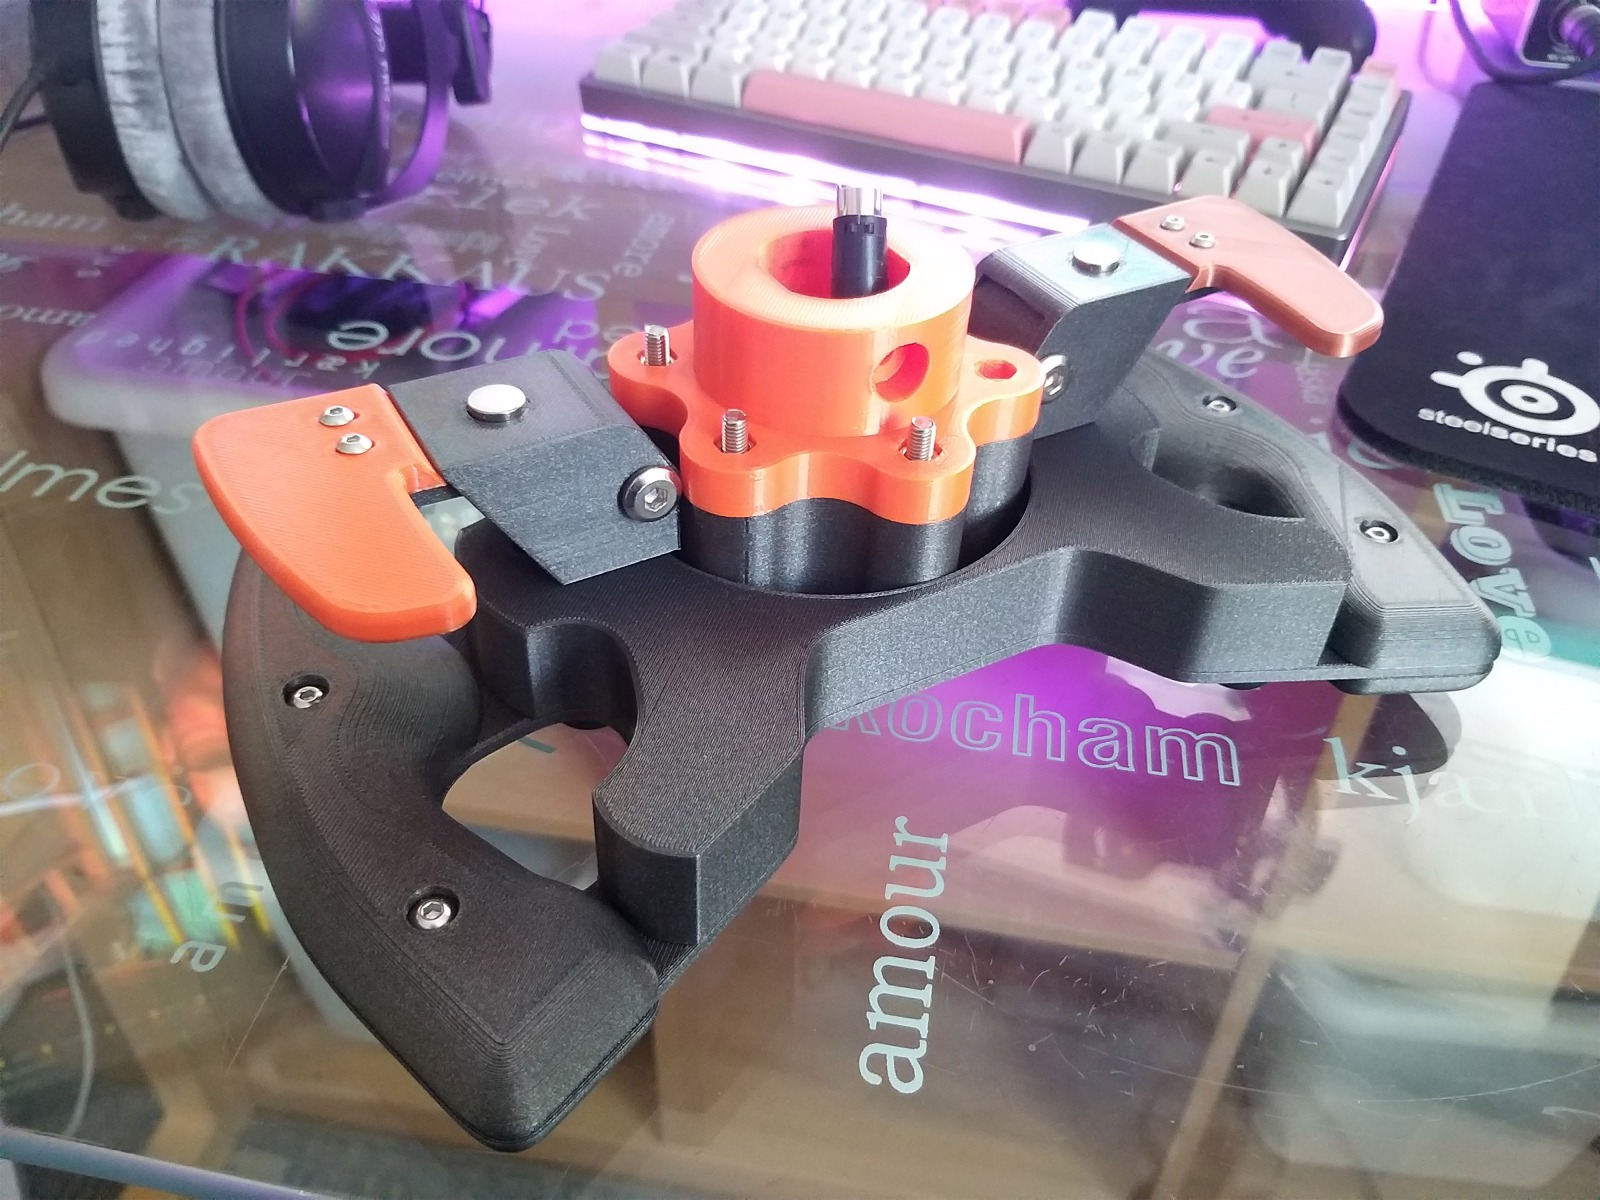
For paddle shifters, I decided not to design my own. I downloaded the paddle shifters from Thingiverse from the user bremme. To make these paddle shifters work with my design and some parts I already had, I had to edit the design a bit. Firstly, I found that all the holes for screws were a bit too tight, so they were enlarged slightly. I changed the size of the holes for the magnets as I had 10x5mm magnets. I also changed the side of the paddle that the magnets slot into so they don’t need to glued in place.
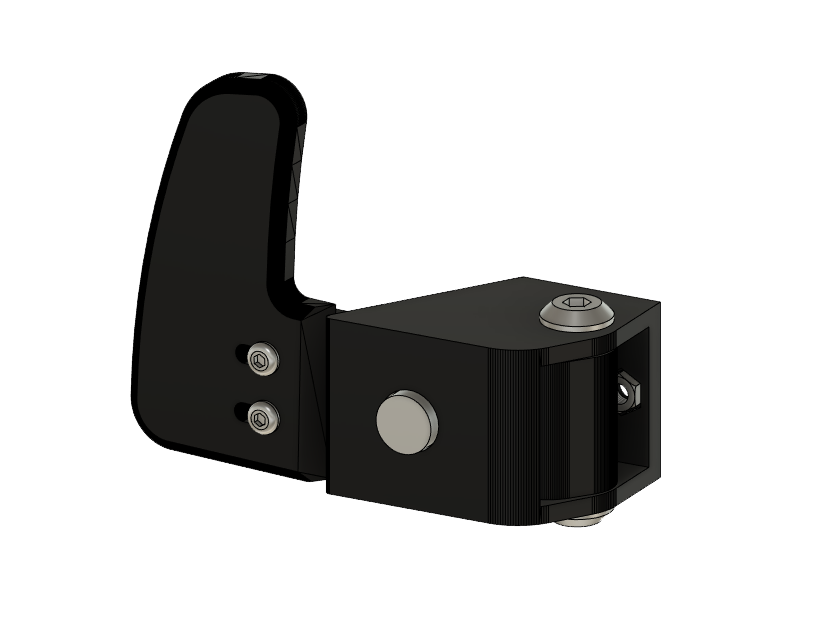
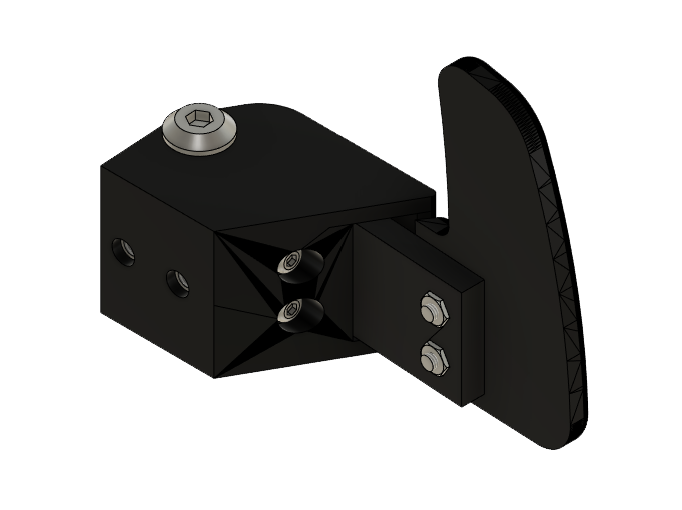
Upon adding the paddle shifters to the project, I found that the extra height they add when fixed to the backbox is too much for the adapter I had previously designed. The paddle shifters would not fit as they would be against the base of the steering wheel. Therefore, I designed a spacer that would be placed between the adapter and the front plate.
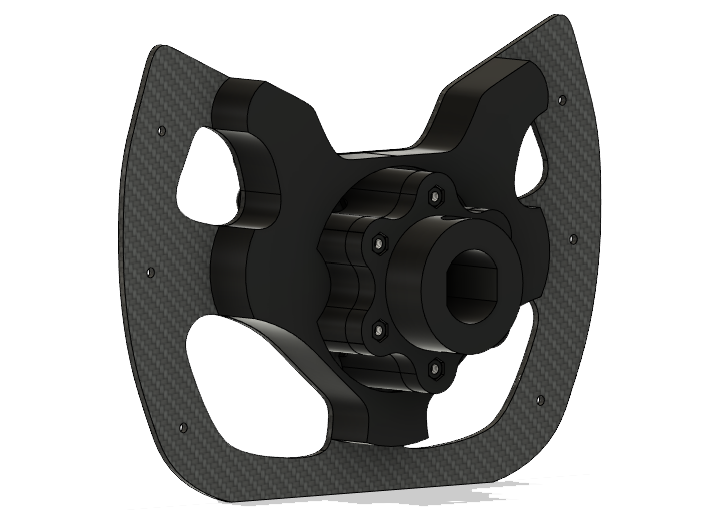
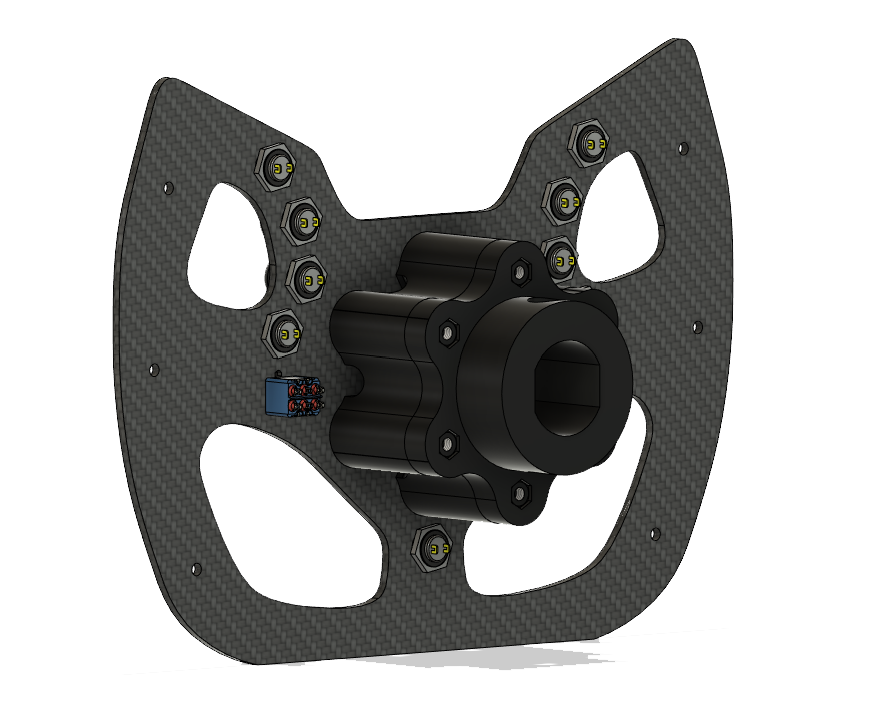
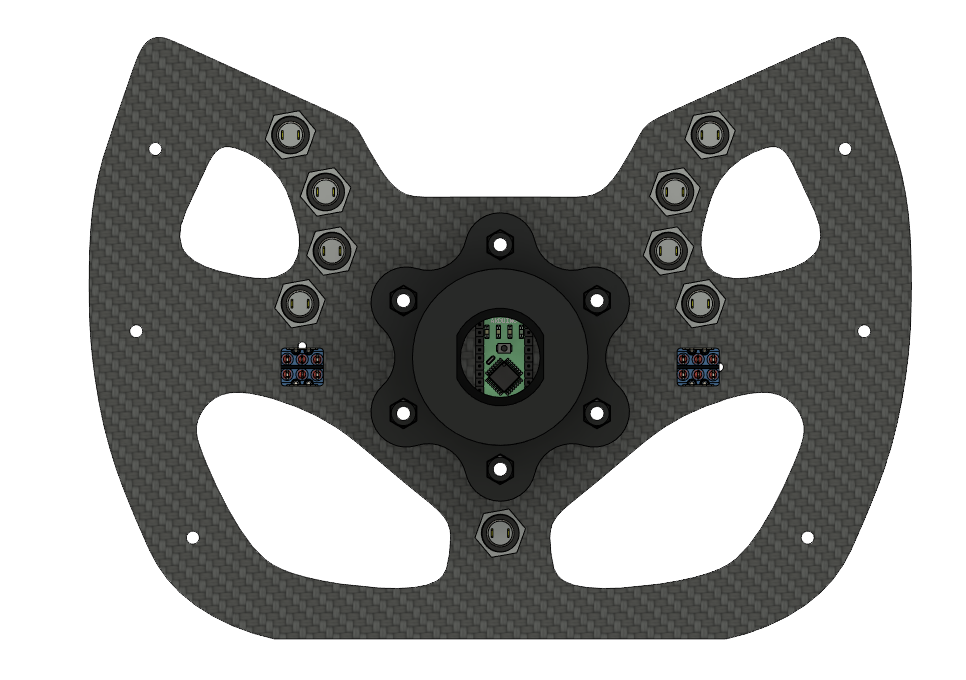
The Arduino that runs all of the buttons would sit under the centre under the spacer I designed. Between each bolt hole, I also made holes to run wires to the Arduino from the buttons. The adapter to mount to the steering wheel base simply bolts on behind the spacer.
Now that the spacer is in place, the paddle shifters can be attached. The paddle shifters are bolted to the back of the backbox.
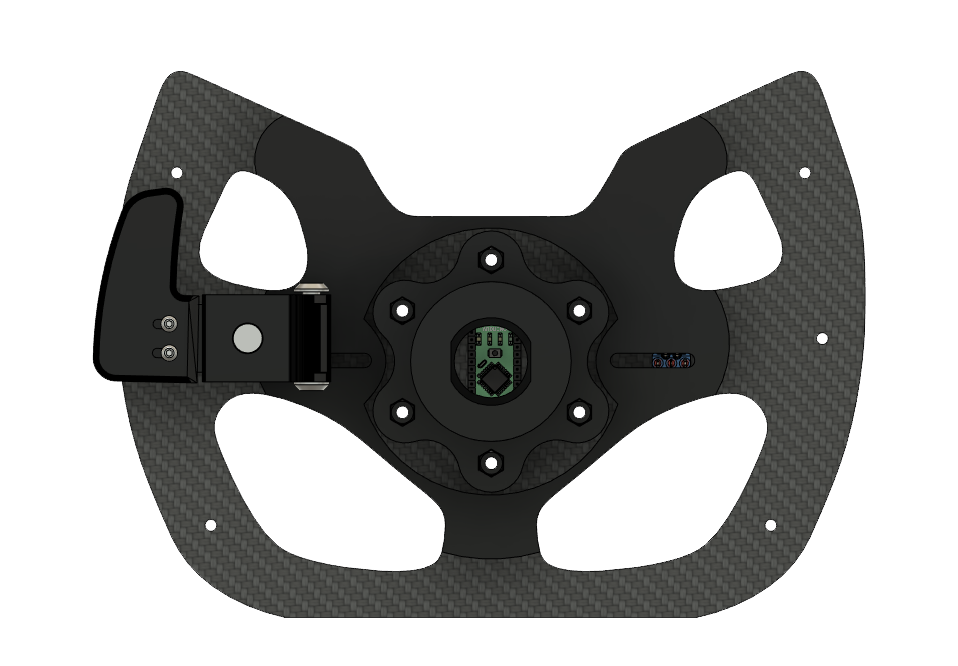
When first testing the paddle shifters, the backbox had 2 holes for the bolts to go through and this meant the paddle shifters had fixed placement. I found that the shifters were too far out and could do with being moved closer to the centre. Instead of making new holes and fixing them in place again, I made them mount in slots so they could be moved closer to the centre when assembling the wheel. Extra material was added to let the shifters move even closer to the centre too.
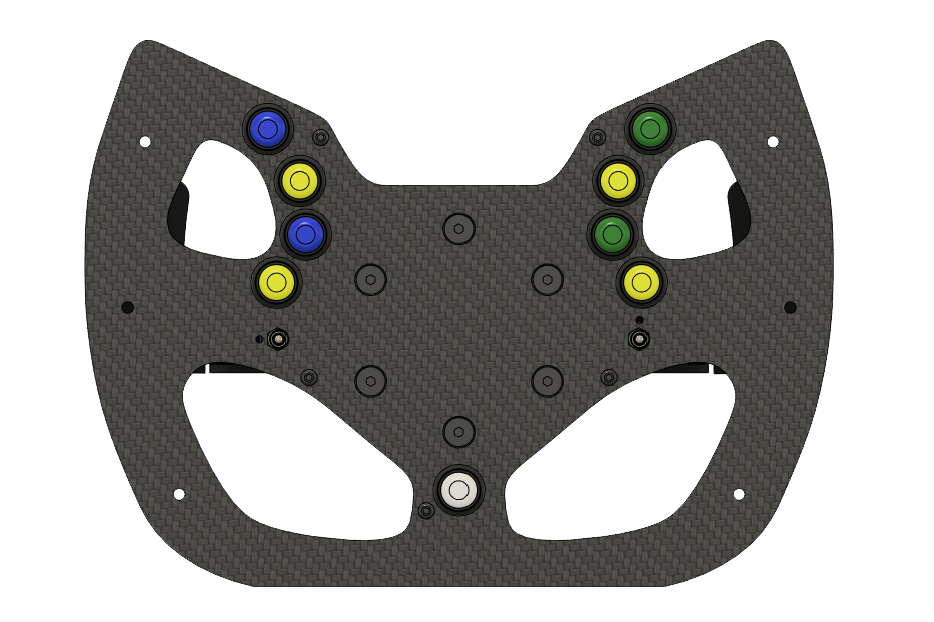
Once most of the design was done, I then modelled all of the nuts and bolts needed. The design uses 6x M5 bolts for mounting and rest are smaller M3 bolts for holding the backbox on and the paddle shifters. At this point, I decided to 3D print all of the above parts in order to test fit. I even 3D printed the front plate.
Once those parts were printed, the only parts that I hadn’t made were the handles. I was deliberately putting off making the handles as I’ve never done more organic modelling. I did what I could and made solid blocks in the shape of the handles and used fillets on all of the edges to smooth them out.

With the handles added, the steering wheels is basically complete. I printed the handles and added them to my prototype. The prototype is actually usable because the 3D printed plate is being used in it’s the strongest orientation, although it bends a little where the handles end. This is expected as it’s only 4mm thick plastic, not solid plastic either.
So the prototype is done, what’s next?
I wanted to be 100% happy with the prototype before manufacturing it. There are one or two things I still want to change, for example, the middle part of the handles. These parts become a little uncomfortable with the plastic plate but this may not be an issue with the final version.
I planned to make the front plate in aluminium or carbon fibre. These could be made with power tools at home although it may not be as clean. I have now decided I would like to get the plate machined elsewhere. The plate could be laser or plasma cut and finished at home. The only thing that is stopping me from doing this is the price. For such a small run of parts, it is very costly. If I wanted just one it wouldn’t be much cheaper than ordering 5 or 10.
I would also like to wrap the handle in a suede or Alcantara to make them feel that much nicer.
Until I finally decide to get one manufactured, that’s all the information about this wheel I will post here. Although I do plan to slowly upload other content here to use as a Portfolio.
I’m writing this update on the 21st April 2021. I had two steering wheels laser cut in steel for now as it was fairly cheap to do so. I finished one of the steering wheels around the 12th February 2021. The wheels were painted black and then ready for assembly.
